

Friday, December 16, 2011
Holiday Party Banner
Friday, November 18, 2011
Fun With Frosting

Wednesday, November 16, 2011
Extra Halloween Candy?

Wednesday, November 9, 2011
Tissue Pom-Poms
Have you seen the beautiful tissue paper flowers blooming at fancy parties? They are very easy and inexpensive to make. Customize your next party with a few of these beauties! Inspired my Martha Stewart's tissue pom-pom tutorial, I made my own. Here's how I did it...


supplies: 1 pack of tissue paper (9 sheets), a pipe cleaner, scissors and some fishing line.

Step1: Fold all 9 layers of tissue paper accordion style into 1-1/2 inch sections. Fold in half.

Step 2: Twist pipe cleaner around center fold. Round edges and trim.

Step 3: Pull gently to separate layers. Working on opposite sides each half to shape.

Step 4: Tie a piece of fishing line to your pipe cleaner, and hang from your ceiling, viola!
Love this idea for birthday parties. Pick colors to match your theme and experiment with different sizes! To see Martha Stewart's Tissue Paper Pom-Pom's How-To http://www.marthastewart.com/how-to/tissue-paper-pom-poms-how-to.
Monday, November 7, 2011
Squeaky Clean Favors

Step 1: Insert toys into mini muffin tin.
Step 2: Melt glycerin pieces in a microwave safe container and pour into muffin tin.
Step 3: Cool.
Step 4: Pop out and place in a cello bag and tie with brightly colored ribbons.
A fun, inexpensive and unique favor. Bonus, encourage kids to wash their hands!
Friday, November 4, 2011
Paper Lantern Party Decor

Saturday, October 29, 2011
Simple Photo Tips

Here are some simple tips to try:
1. Designate a party photographer! If you are the one cutting the cake, it is hard to squeeze in time for taking pictures too. Maybe a relative or big brother/sister can help.
2. Child's perspective! Take pictures from your child's perspective. Take a knee and get down to their level for portraits of your little guests.
3. Lots of Levels! Stand on a chair, sit on the floor. Take one of the entire party scene and then zoom in.
4. Details, details, details! Take close-ups of all your party elements: cake, decor, table and presents.
5. Candid camera! Sometimes the best photos are taken when no one is looking at the camera!
Say cheese...
Monday, October 17, 2011
Simple Party Punch
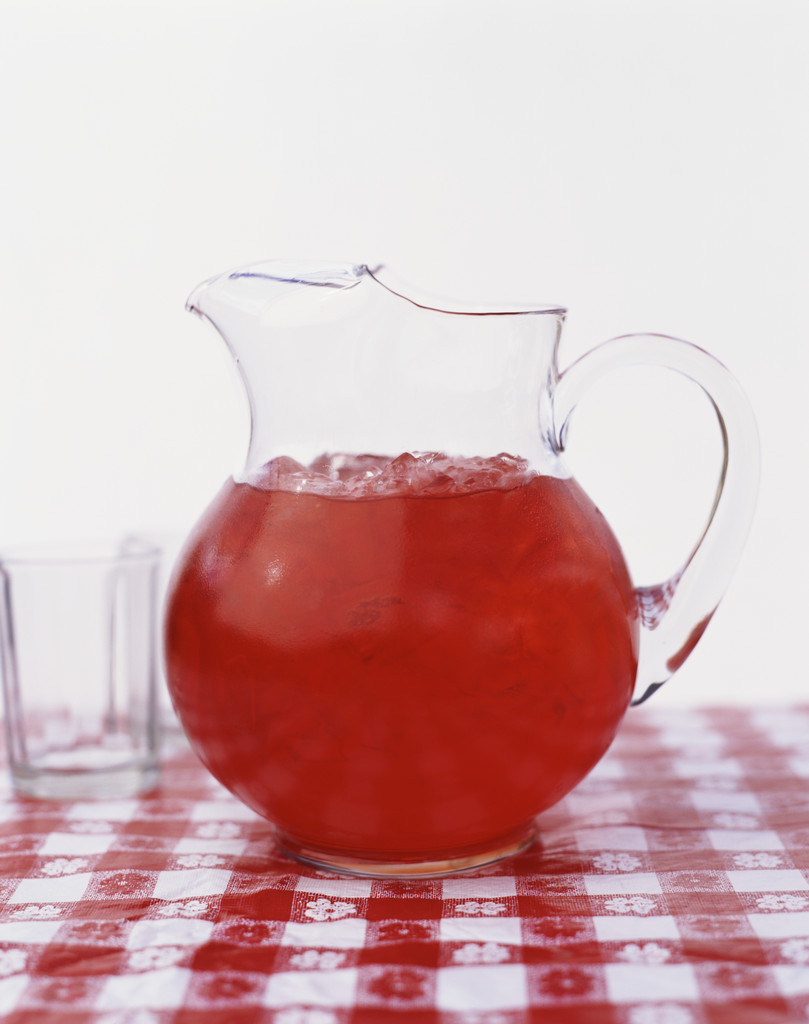
Ingredients:
Cranberry-Raspberry Juice
Lemonade
Directions:
Mix equal parts cranberry-raspberry juice and lemonade. Serve on ice. My favorite alternatives are cran-grape-lemonade and cran-pomegranate-lemonade. The kids love this, so have extra to make a second batch!
Thursday, October 13, 2011

Monday, October 10, 2011
"Glee" Teen Party
My daughter and I love watching Glee together, so when it came time to plan her 13th birthday party, Glee was her clear choice. Our first order of business was making plain invitations look party specific. We decided to splatter the front of some paper invitations with watercolors, so it looked like slushie splatter. Purple, Orange, and Red looked convincingly like Grape, Orange and Cherry slushie stains. So cute. These were a big hit and everyone came to the party!
 Another big hit was the Glee inspired food... cafeteria style! Served in aluminum baking trays.
Rachel Berry Salad - berry/fruit cup
Tots - tater tots
Cheerios - Cheerio/marshmallow crispy treats
Grilled "Cheesus" - grilled cheese sandwiches
Bread Stix - garlic bread sticks
Veggies - we needed something healthy... carrot & celery sicks
Big Quench - grape slushies (Rachel's favorite) I made these in my ice cream maker using a mixture of grape Kool-aid, lemonade and Sierra Mist
Puck's Cupcakes - vanilla with red frosting
 For decorations, we used the red & white WMHS school colors and decorated the dining room (a.k.a. the cafeteria) with streamers and poster board pennants. Party Activities were a Glee photo booth, Glee quiz and Wii karaoke. Red slushie party cups... perfect favors for the big Teen birthday! Complete with microphone, glow-in-the-dark stars, glee gum, sour patch kids, whistle, and chocolate favors.

Rachel Berry Salad - berry/fruit cup
Tots - tater tots
Cheerios - Cheerio/marshmallow crispy treats
Grilled "Cheesus" - grilled cheese sandwiches
Bread Stix - garlic bread sticks
Veggies - we needed something healthy... carrot & celery sicks
Big Quench - grape slushies (Rachel's favorite) I made these in my ice cream maker using a mixture of grape Kool-aid, lemonade and Sierra Mist
Puck's Cupcakes - vanilla with red frosting

Wednesday, September 28, 2011
Snow Cone Syrups

Here is my recipe:
1 cup Sugar
1/2 cup Water
1 packet (.16 oz) unsweetened drink mix
Directions:
Combine ingredients in saucepan. Bring to a boil and immediately remove from heat. Cool. Pour into container and serve over snow cones. Yum!
Friday, September 23, 2011
Scrapbook Paper Invitations
 My 40th birthday is coming up and my husband asked if I wanted a party. How could I say no? I think it will be fun to plan my own party. I saw an idea for a grown up ice cream social in Better Homes and Gardens. I loved their ideas for vintage decor and a make-your-own sundae. Except, my true love is cupcakes... So, we came up with a make-your-own cupcake & wine tasting party.
For invitations, I found some specialty scrapbook paper in a pink pattern, and a cupcake hole punch. I found some wording for a dessert party that I liked. Then, I created a word document and printed it onto card stock. I trimmed the card stock slightly smaller than the pink paper to create a border and used the cupcake hole punch. I found some 4x6 envelopes that I already had, and sized the invitations accordingly. A little glue stick and voila! I love how these came out! I even saved the punched out cupcakes to use as confetti or something.

For invitations, I found some specialty scrapbook paper in a pink pattern, and a cupcake hole punch. I found some wording for a dessert party that I liked. Then, I created a word document and printed it onto card stock. I trimmed the card stock slightly smaller than the pink paper to create a border and used the cupcake hole punch. I found some 4x6 envelopes that I already had, and sized the invitations accordingly. A little glue stick and voila! I love how these came out! I even saved the punched out cupcakes to use as confetti or something.
Subscribe to:
Posts (Atom)